Take a trip to a tropical beach with coconut kefir!
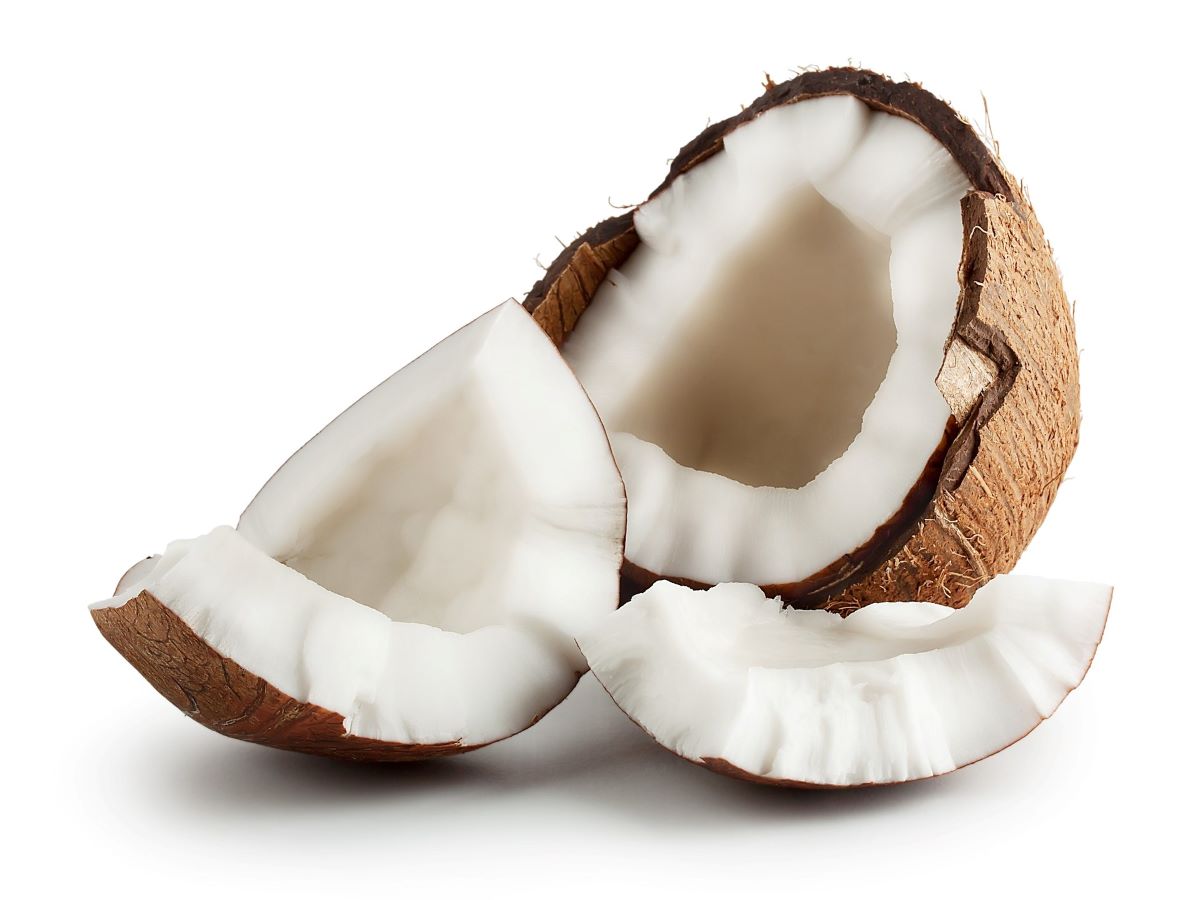
With infinite possibilities, non-dairy coconut kefir is a great alternative to dairy one whether you are avoiding dairy products or simply want to try something different. As well as the regular kefir, the one made with non dairy milk is rich in probiotics and nutrients.
The easiest way to get creamy and thick vegan kefir is to use coconut milk. Besides, there are many benefits of consuming coconut kefir. It has been shown it is antimicrobial, antiviral, anti-fungal and could boost immunity, increase energy, balance hormones, eliminate Candida, enhance food digestion, fight allergies, support detoxification and more. It contains high levels of calcium, magnesium, vitamin B12, vitamin K2, biotin, folate, enzymes and several beneficial probiotics.
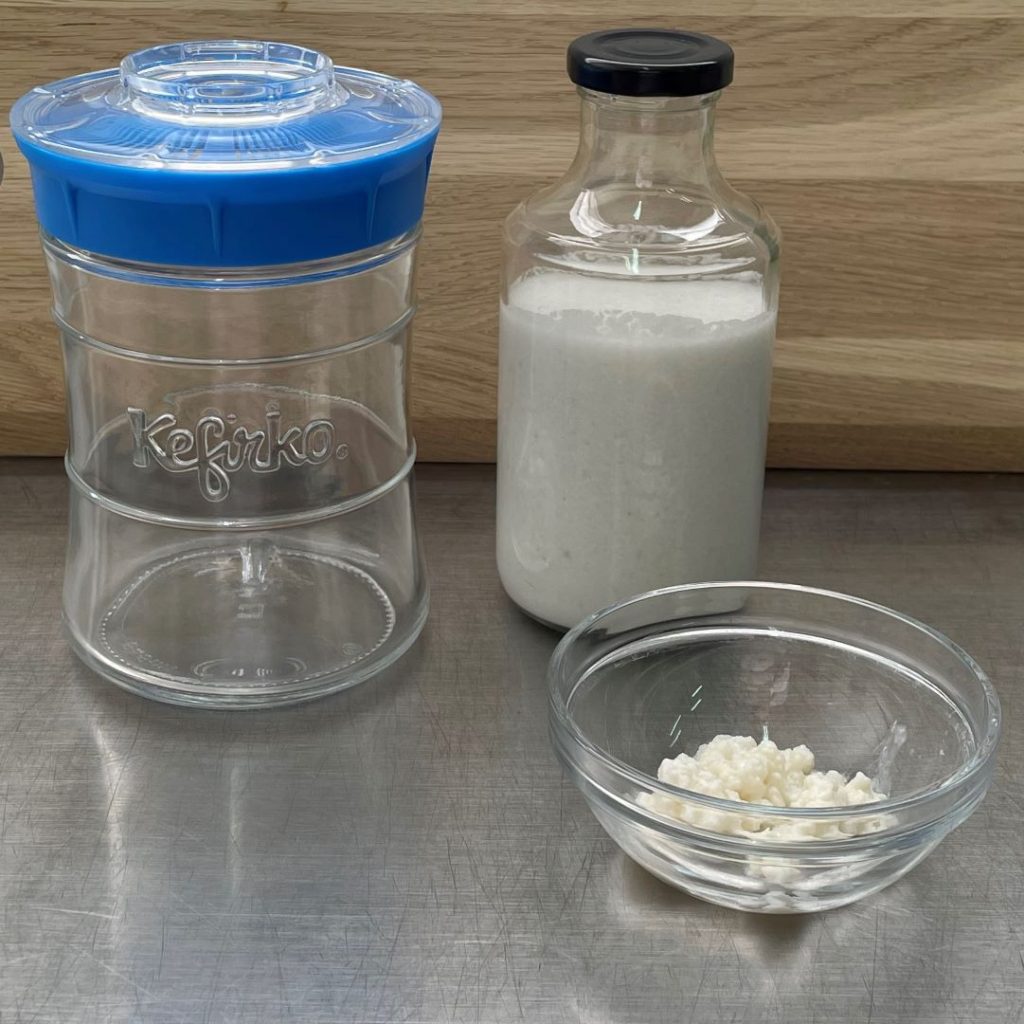
COCONUT KEFIR RECIPE:
- 500 ml canned coconut milk
- 20 g fresh milk kefir grains
- 10 g sugar (cane, coconut, raw) / maple or agave syrup / date paste
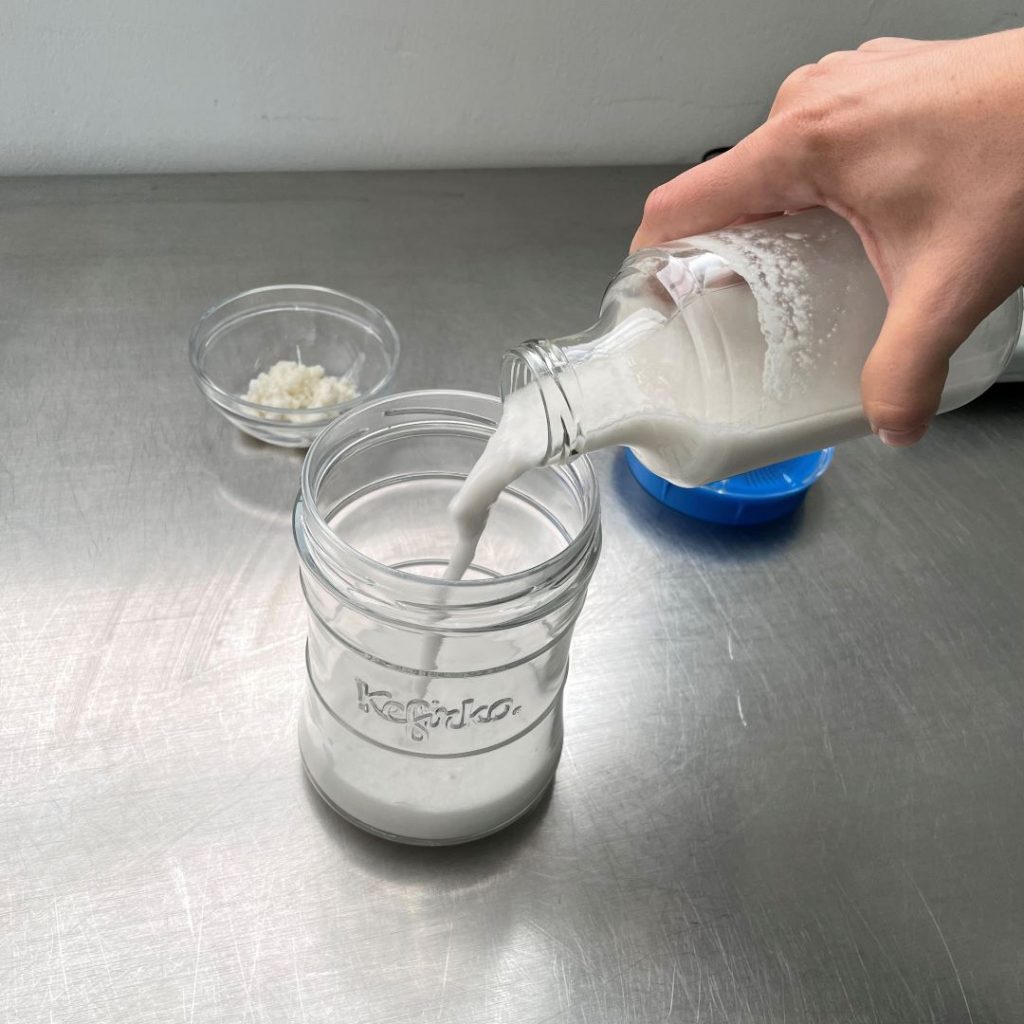
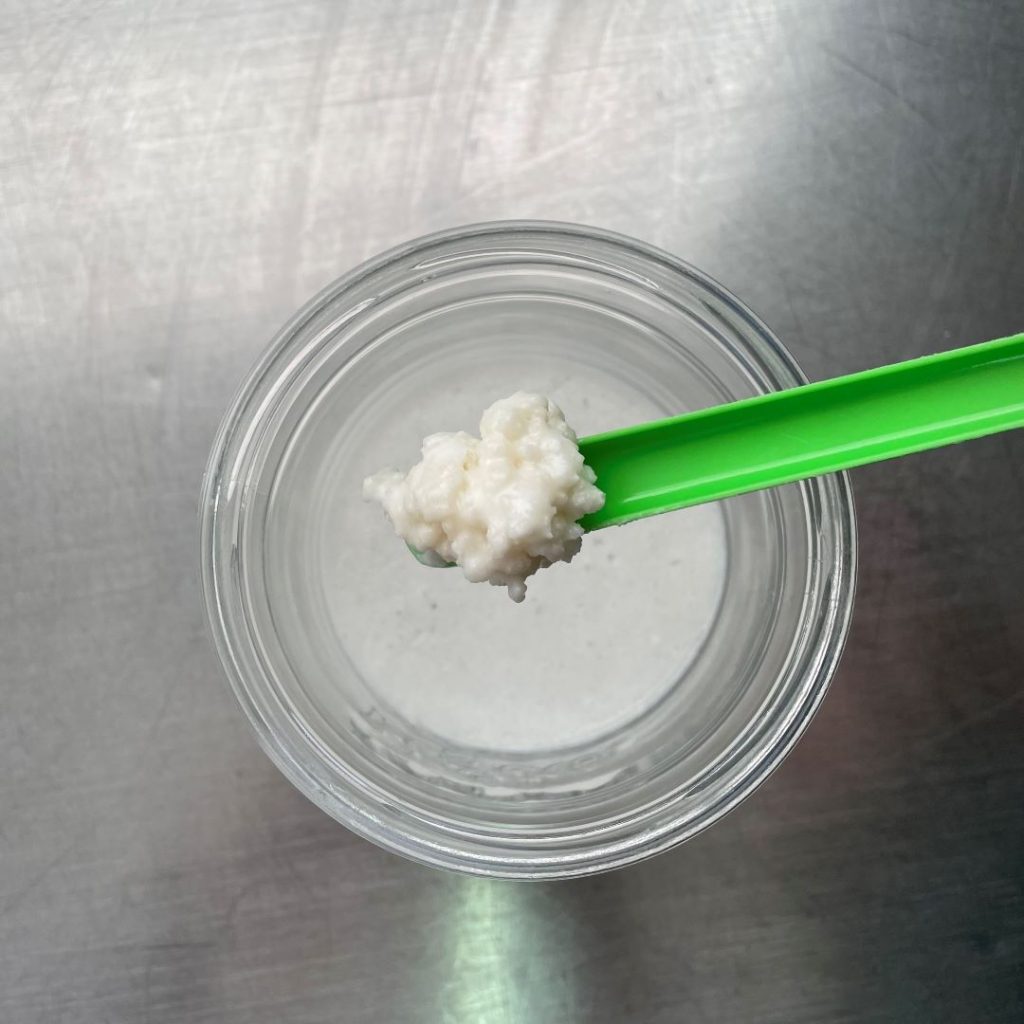
Add coconut milk to the kefir fermenter. Then add a desired source of sugar and stir until it dissolves completely. Add the kefir grains. Cover with a lid and seal tightly. Leave to ferment at temperature 22-38°C for 24 hours. Finished kefir should taste slightly sour and tart. If it is still sweet, you should let it ferment a little bit longer. It tends to separate into whey and curds, which is typical for kefir from dairy-free milks and you can simply stir it and mix it all together.
You can use it right away or store it in the fridge for a few days.
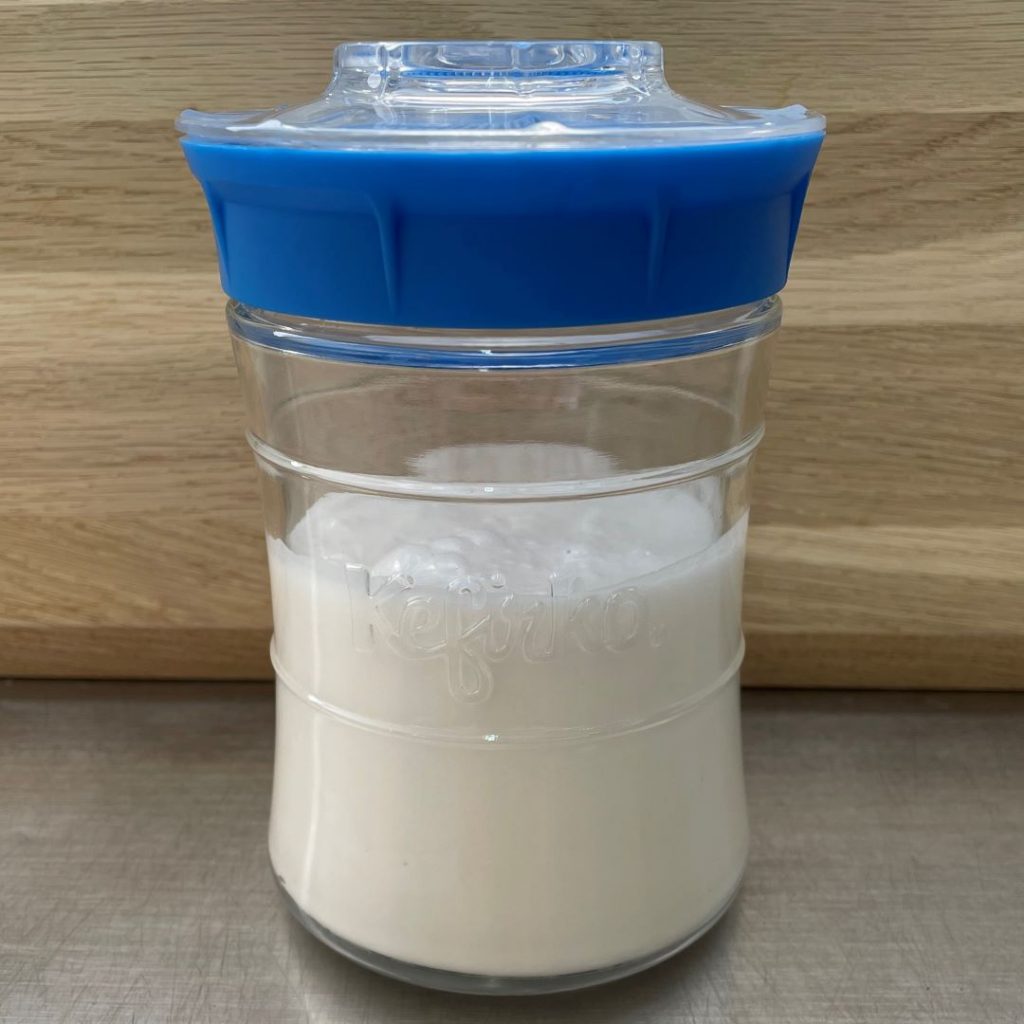
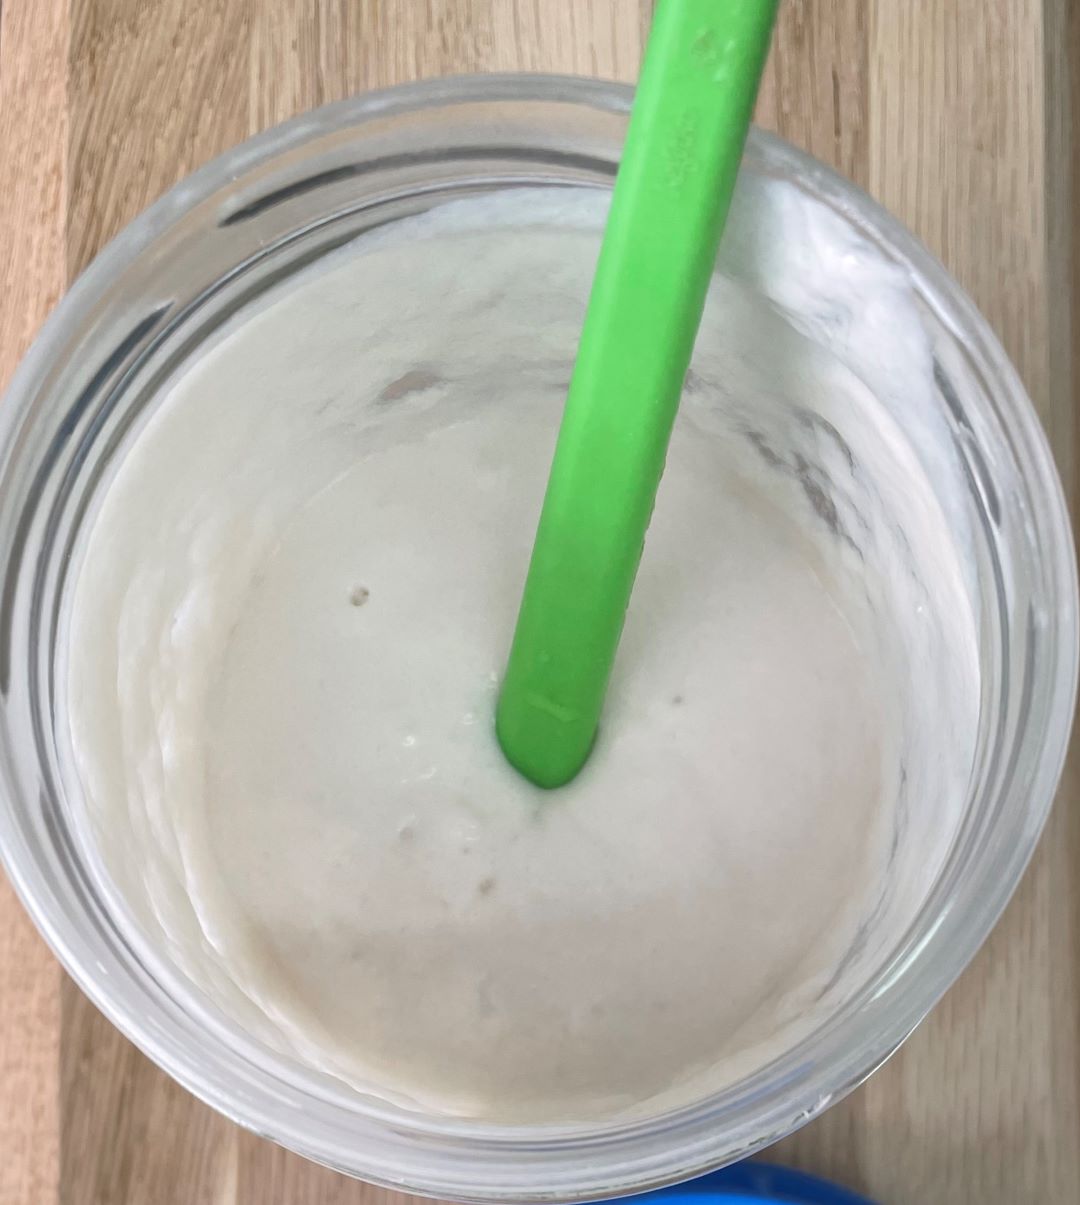
Although plain coconut kefir tastes excellent, you can use it in your favourite smoothie or mix it into overnight oats.
What about other kinds of vegan milk?
Instead of coconut milk, you can use other types of non dairy milk. If you prefer mild-tasting kefir, rice milk could be a great choice. For creamier and sweeter kefir, reach for oat milk. Using soy milk, we come closest to the taste of dairy milk kefir. There are also several options with different types of nut or seed milk.
Keep in mind that fermenting time depends on the type of milk you use. For oat milk it takes about 12-14 hours to ferment, nut milk 12-36, soy milk 20-24 and seed milk 18-24 hours. You should start tasting it after 12 hours to get the taste that you like.





Is it possible to use water Kefir grains with coconut water instead of milk Kefir grains?
Hi Catherine!
We use the water kefir grains with coconut water and milk kefir grains with coconut milk.